You are here: Restoring a wooden floor
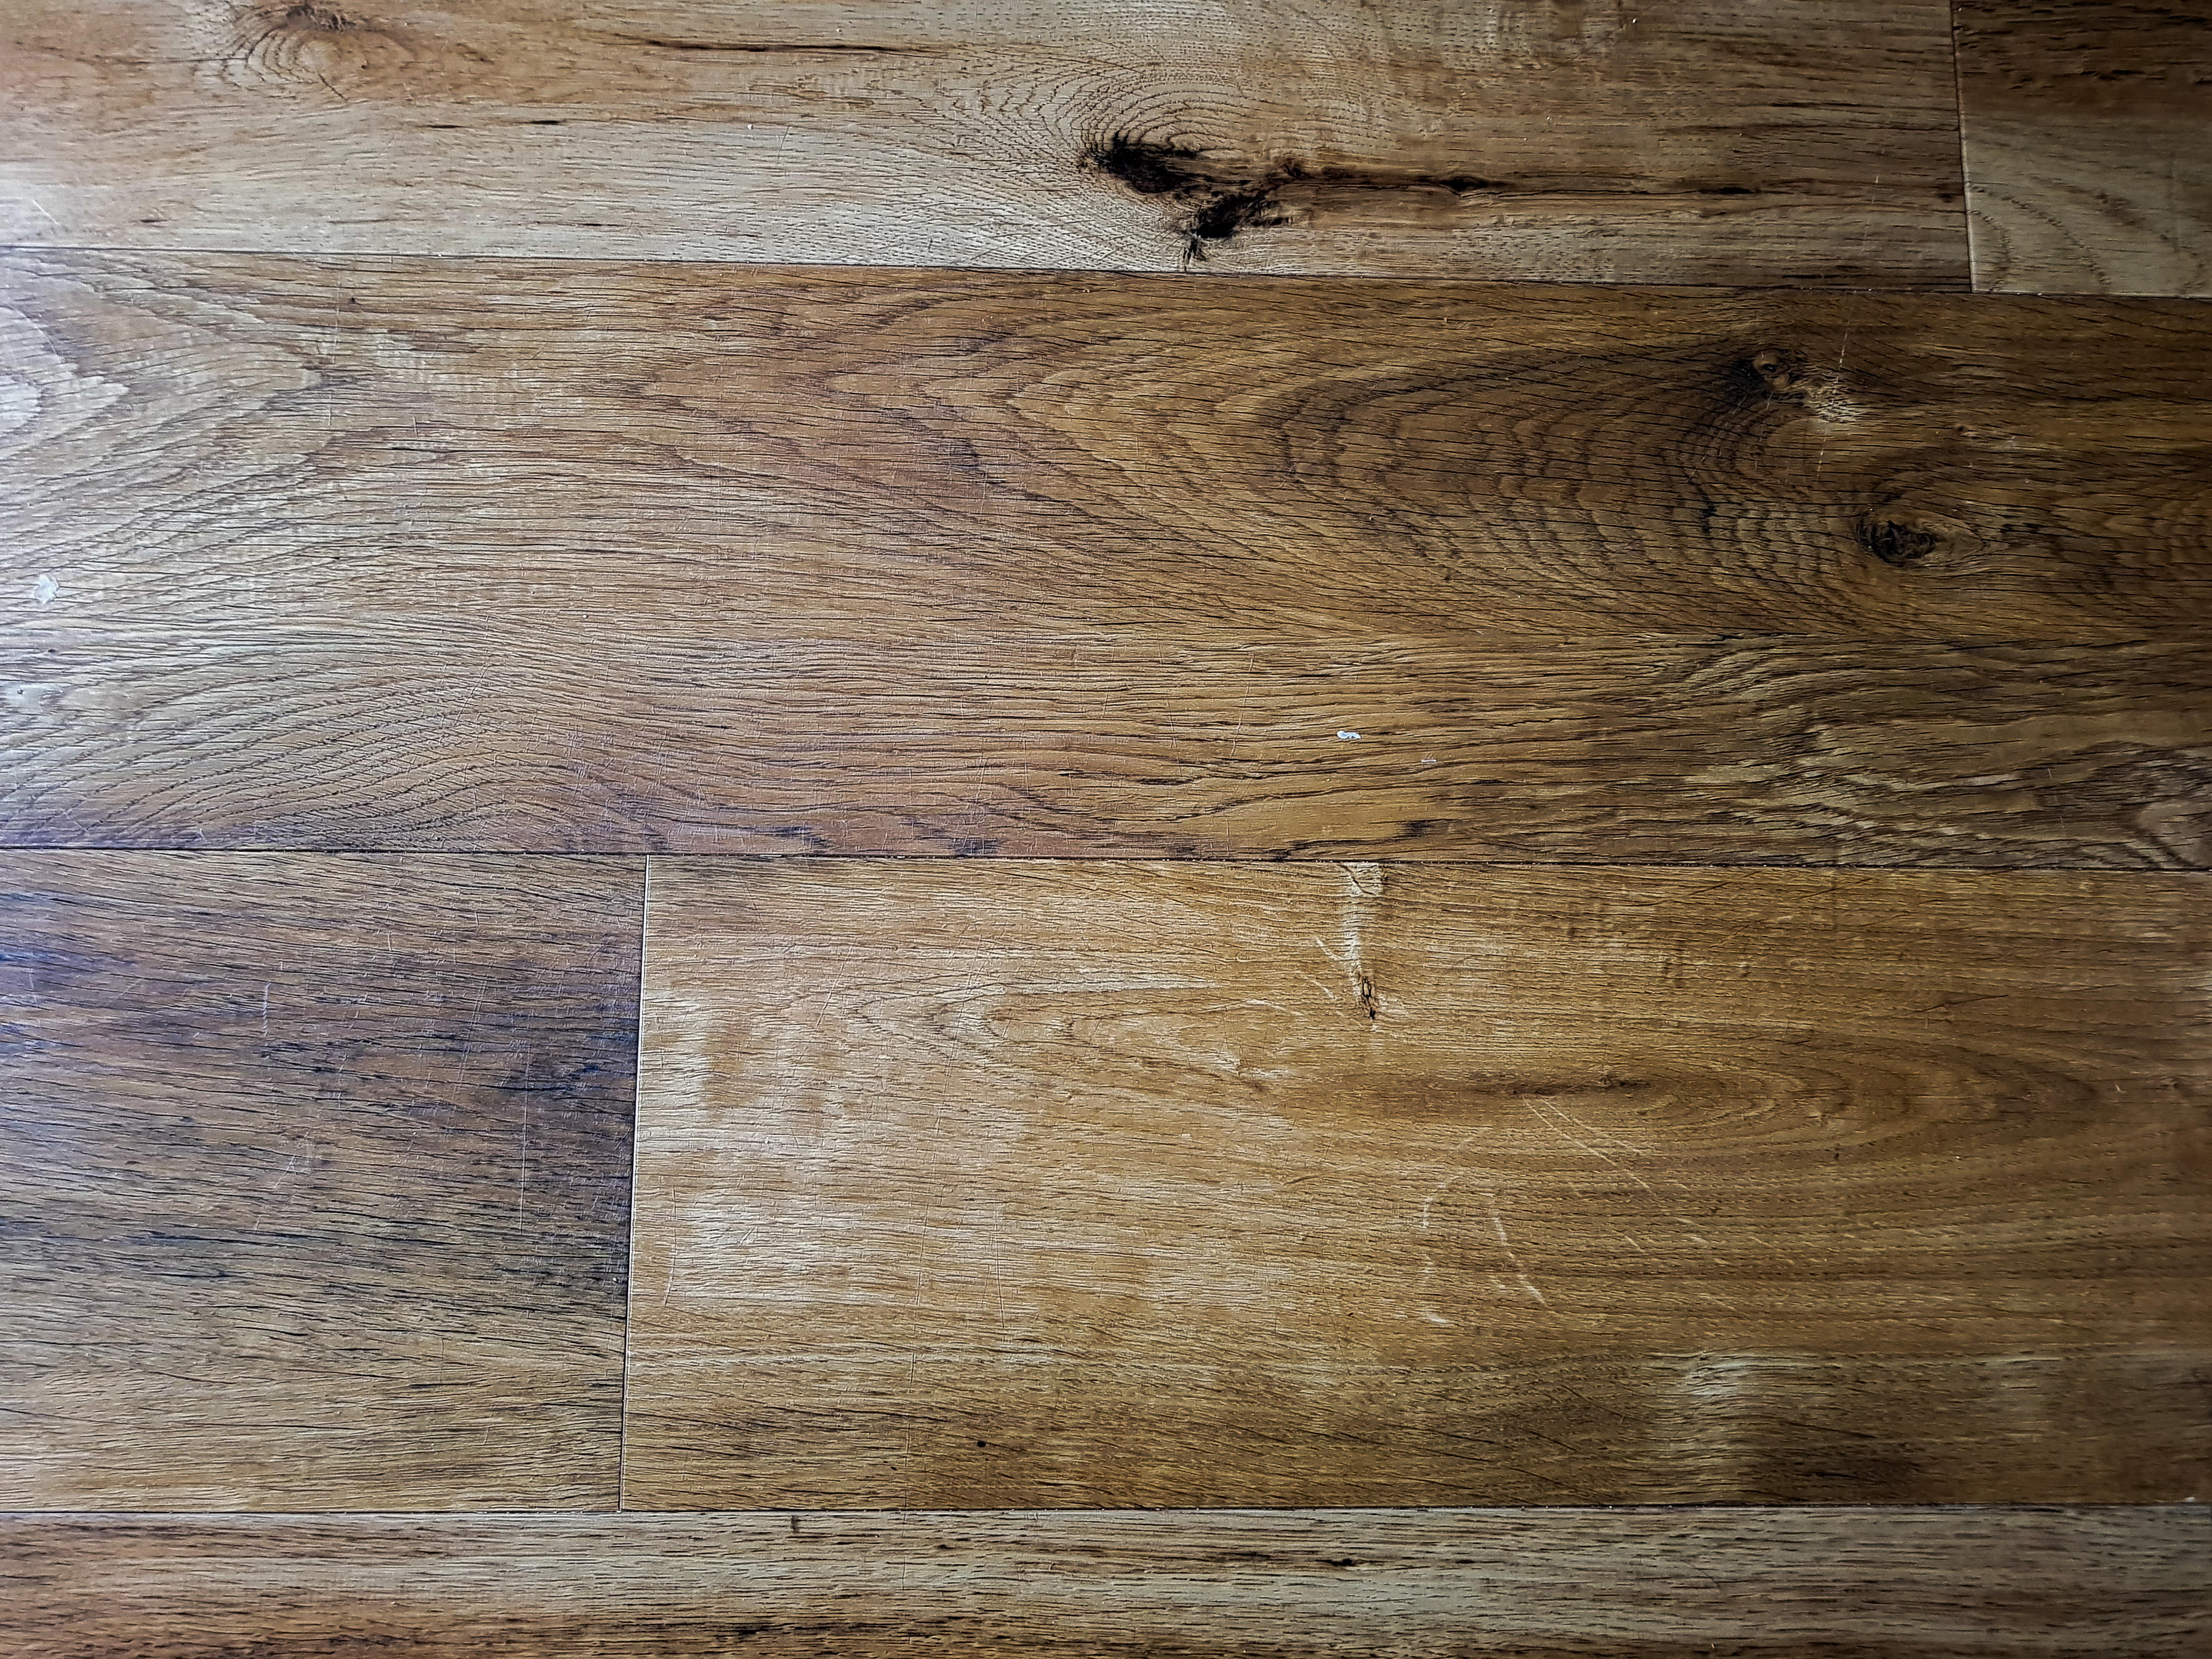
There could be a stunning wooden floor waiting to be discovered under your carpet. But how do you bring a scratched wooden floor back to its beautiful best?
There are clear advantages to a wooden floor, not least its durability and natural good looks. It is also a lot easier to clean than carpet and harbours fewer dust mites, so its better for people with asthma and allergies. If you’re keen to restore a wood floor, here are some top tips and advice.
Call an expert
By far the easiest way to revamp ageing wood floors is to hire an expert to do any sanding and varnishing. Prices will vary depending on where you live and number of floors to be restored which will affect the price per square metre. If the floor is in poor condition, for example with gaps that need filling, it need more preparation which will bump up the cost. For those confident enough to apply the finish of oil or lacquer themselves, some companies offer a sanding only option.
In London, The Floor Sanding Experts’ prices range from £12 per m2 for sanding only to £19 per m2 for sanding and three coats of wood floor oil. (Prices correct in August, 2019). Staining and gap filling is extra. Some companies offer cleaning and buffing services with one or two coats of lacquer, hardwax or oil. This means you can clean and refinish your scuffed wood floor without having to sand down to bare wood.
The right tools for the job
It’s possible to renovate old board, traditional parquet and block wooden floors yourself, if you have the right tools for the job. You can rent a floor sander and edging sander pack from HHS for £78 per week, for example (prices correct August, 2019). A heavy drum floor sander removes scuffing, old finishes and decorative stains, while an edging sander allows you to go right up to the skirting board without having to go down on your hands and knees with sanding paper to tackle those hard to reach corners. The special kit you’ll need includes:
- Floor and edge sander
- Sanding sheets, discs and dust bags
- Protective equipment (googles, gloves, dust mask and ear plugs)
- Large flat head screwdriver
- Hammer and nail punch
- Varnish and brush
- Floor pad
- Mop and bucket.
Preparation
The first step is to remove any carpeting over the wood flooring. A hammer and flat head screwdriver will be needed to pry up tack strips and staples. Prepared to be amazed at how much dirt and sand collects under the carpeting. Inspect the bare floor and screw or hammer down any nails that stick out.
Sanding
Wear safety googles and mask to prevent dust getting into your eyes, nose or mouth. Before you begin, open all the windows to provide ventilation and hang a drop cloth over doorways to prevent dust spreading around your house. Also remove any furniture. If you are using a floor sander, you will need to fit sanding sheets tight against the drum. Make sure the floor sander is switched off and carefully follow the safety instructions from the hire shop. Remember to unplug the sander whenever you need the change the sanding paper.
Sand in the direction the boards are laid with the wood grain. Start the sander drum, walk forward and ease the drum onto the floor. As you approach the end of the section, gradually raise the drum off the floor.
Staining & varnishing
If you choose to refinish your floors, the fun part is picking a new stain colour and/or vanish. Wood stains are absorbed by the wood or mimic the colour of a particular species of wood, like white oak or rich mahogany. This could be the same timber as your floor or completely different. Varnish is a clear, transparent coating that lays on top of the wood. It is durable and hard and can be glossy or matt. For best results, follow the manufacturer’s instructions.
After sanding and before varnishing, give the floor a good vacuum. Then wipe it over with a damp rag and leave to dry completely. When staining or varnishing a floor, it’s important to ensure the room is well ventilated as exposure to the fumes can cause asthma and other breathing problems. You may wish to consider purchasing eco-friendly varnishes or natural oil wood stains without a strong chemical odour. Stir the floor varnish thoroughly before and during use. Use a wide brush to apply the varnish evenly and finish in the direction of the wood grain.
Allow plenty of time to apply the varnish. It’s a good idea to start first thing in the morning to allow three coats to be applied and dry in one day. Drying times will vary based on the type of product as well as different floors and air flow. Better to wait too long than be in too much of a hurry. Before the final coat, lightly rub down the floor with fine abrasive paper. Then mop the floor and wipe it with a bit of paint thinner on a cloth to remove any dust before applying the final coat.
Wooden floors add value to a home. Sometimes a deep clean and buff without sanding is enough to restore your wood floor’s beauty. If it’s beyond a quick fix, for example with deep scratches, it may need refinishing. If you go down the DIY route, you’ll need to follow each step - sanding and varnishing - and be prepared for it to take a weekend or more to complete. Alternatively, to be sure of a professional refinish, contact two or three local companies to quote for the work.
If you are looking to make changes to your home, you may find some of these links useful:
Structural Inspections
Find an expert to carry out a structural inspection

Find an Interior Designer
Find details of local Interior Designers

Builders
Find local help with a building project

Architectural Design Services
Find local Architectural Design experts