You are here: Damp basements
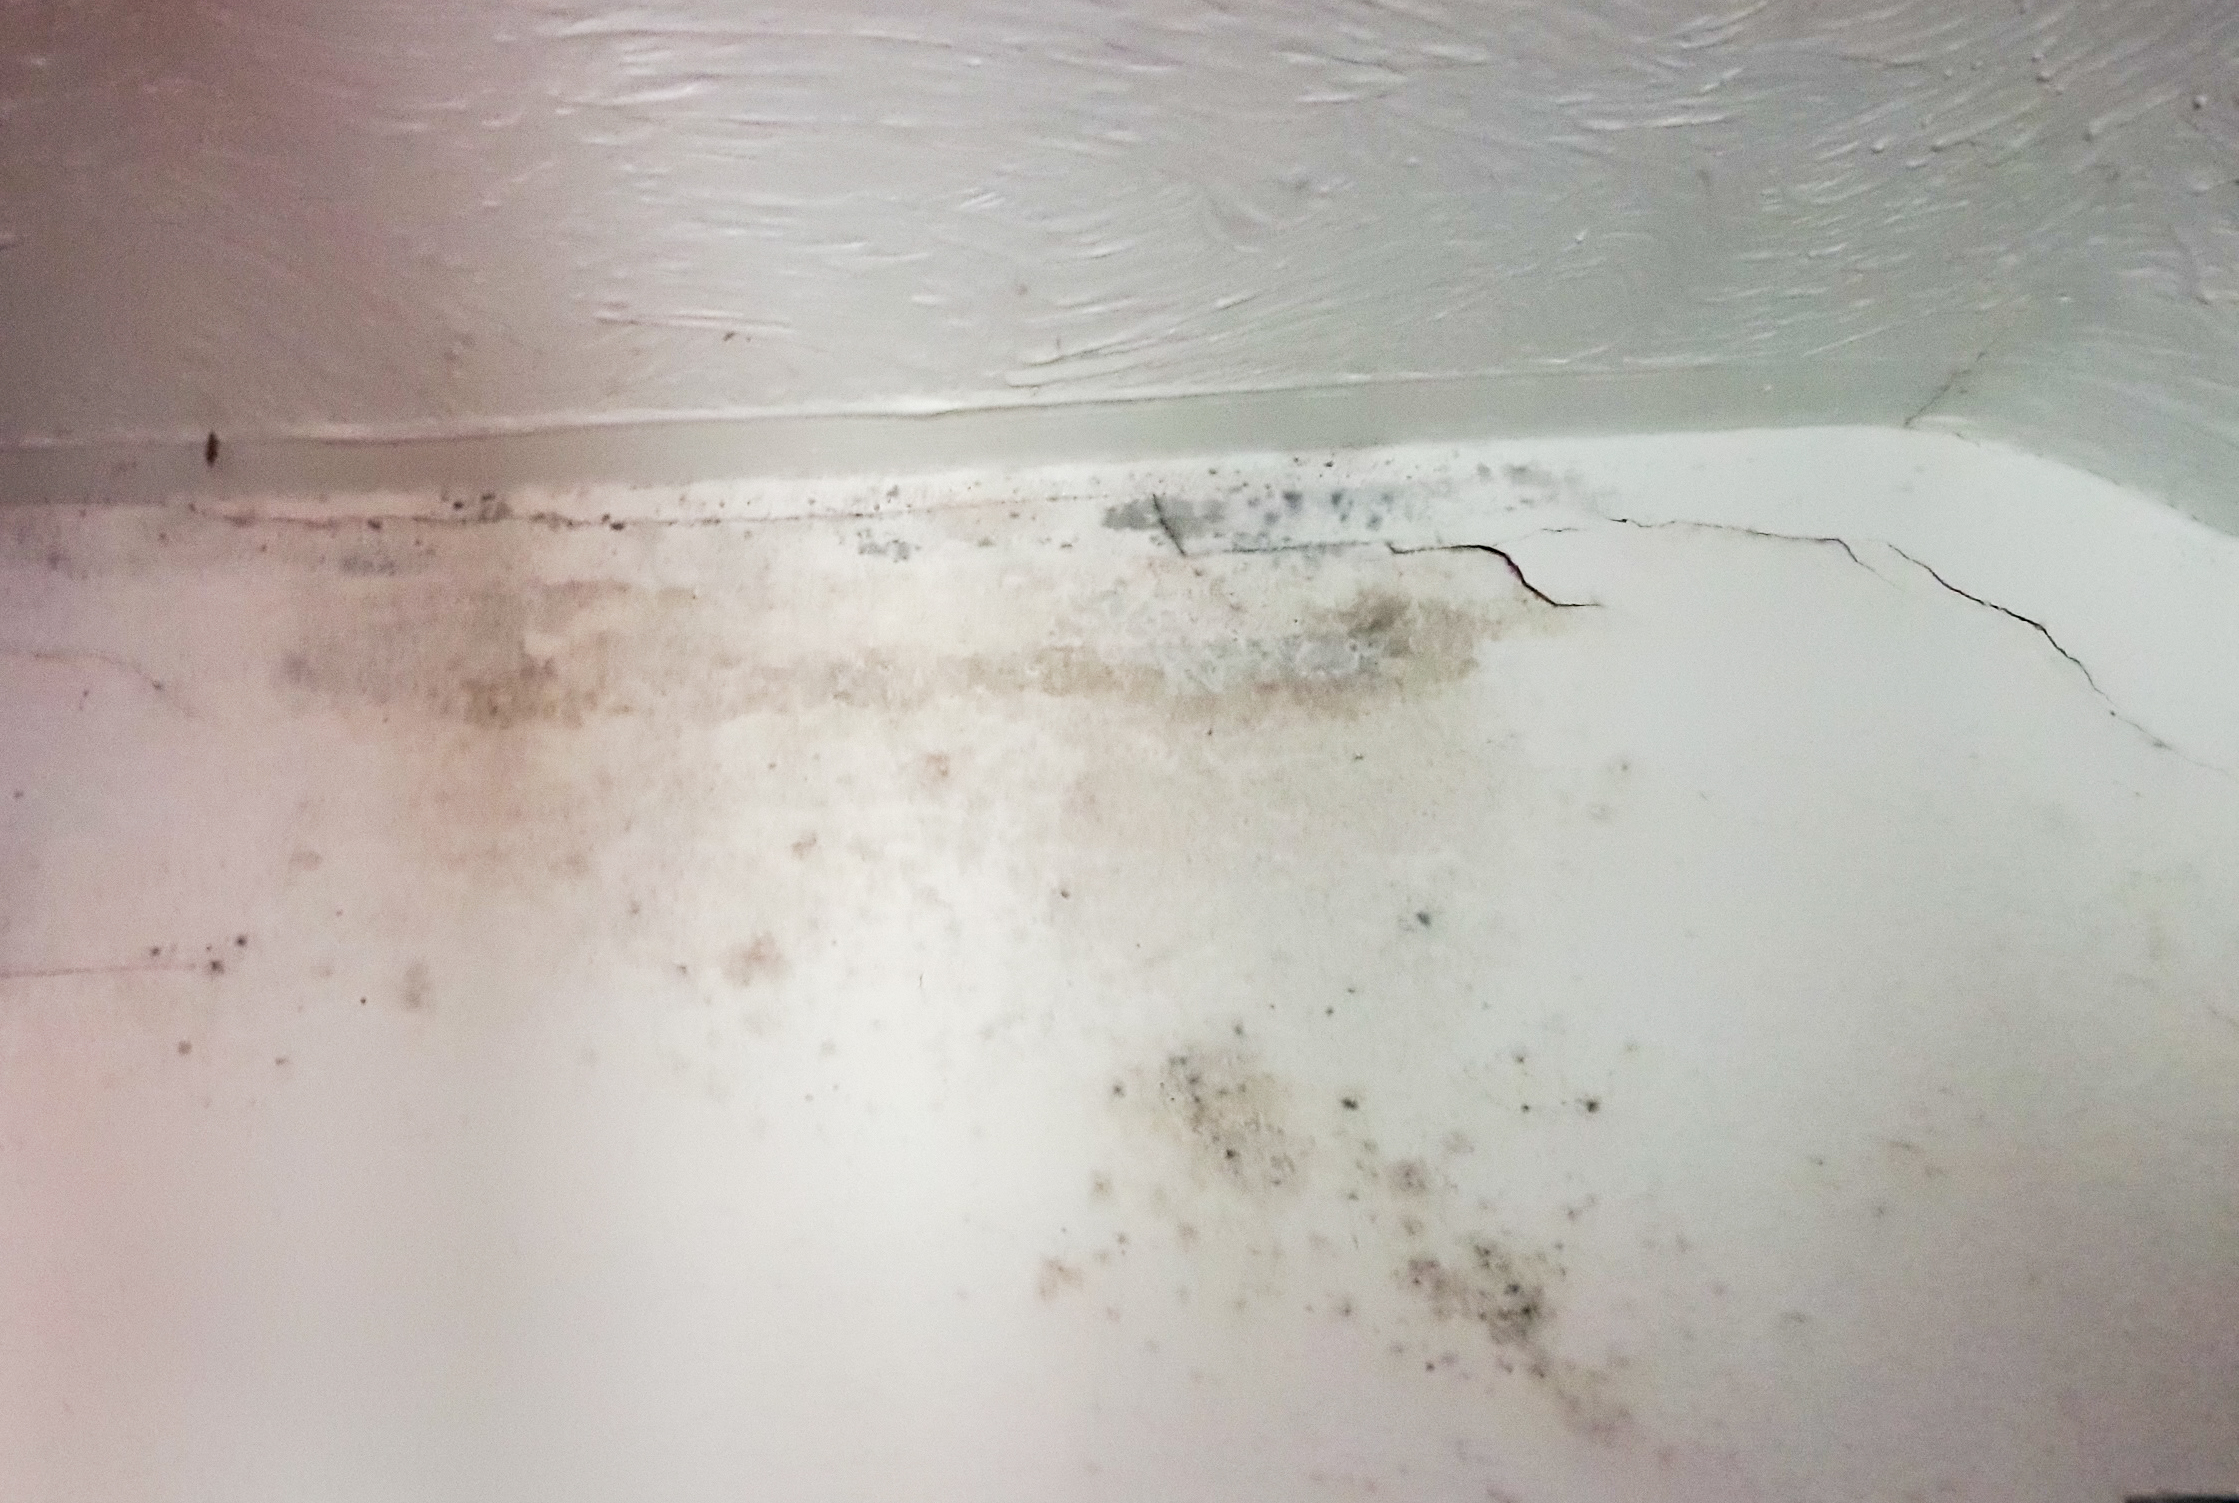
Basements and cellars will find almost any reason to be damp. Water always finds its way down. Flooding and leaks are only two causes. Dampness can be the result of groundwater being drawn in through the floor and walls, too, or humidity – created inside any home – building up.
Before embarking on full-scale waterproofing or tanking – which effectively means creating a barrier to stop any water getting in – it is worth exploring simpler, cost-effective measures. Basement windows are sometimes neglected, perhaps simply because basements are often not the most well-used rooms, but it is worth making sure any windows are fully weatherproof. Check guttering too: any water that doesn’t find its way into your downpipes could soak into the walls or spill over into the soil right next to the walls, from where it can be drawn into the foundations or the basement. Clearing that blocked downpipe or ensuring that a problem gutter is properly aligned and clear of debris could be enough to solve some damp problems.
In houses without gutters – traditional thatching for instance – it’s important to ensure ground levels have not crept up over time, allowing damp soil to rest against the lower walls. Clear away loose soil and plant debris from around the house, and consider lowering ground levels, if appropriate, ideally incorporating a slope away from the house. Where there are no gutters it’s also important to look at the ground surface. A layer of shingle under where the eaves drip can limit splashing and help drainage. If air cannot get to your walls, your walls cannot dry.
The next step in expense and difficulty is to create drains. Surface drains are simple enough – just a way to channel water away from the house. Subsurface drainage often takes the form of a French drain – basically a perforated pipe or filled trench running down to a soakaway at some distance from the house. The design needs to be correct, though, if a French drain is to function effectively and not fail over time, so seek expert advice.
For properties where all these basics are in place, but the basement is still damp, one potential solution is to install a dehumidifier. Domestic units are inexpensive and efficient these days. You can buy a good, quiet one for under £200. The energy consumption very much depends on how damp the room is, and what humidity you set it to target – newer units will allow you to set a percentage, and they will only come on when the humidity rises above this level. A dehumidifier in a damp basement on an 80% setting will use a great deal more power than one in a relatively dry one on a 40% setting. Electricity prices go up and down, of course, but you might expect the energy cost of a home dehumidifier to run at anything from 3p to 10p an hour, while in use, and bear in mind that it will only come on for a portion of the day. In all, running a dehumidifier is probably more expensive than running a laptop and less expensive than a fridge, very roughly speaking.
There are upsides to dehumidifiers, too. A drier room costs less to heat – because you’re not paying to heat up the moisture. Drier air feels less chilly too, so you may be able to keep the thermostat at a lower setting. There are other potentials savings. Damp is expensive to treat, you’ll probably need to use fewer mould-reducing products, and you may end up throwing away fewer ruined possessions – the ones you so carefully put away in cardboard boxes, that got covered in mildew. You’ll get useable water for your ironing, too, though the downside of dehumidifiers is having to remember to empty the tank – unless the unit is connected up to a drain.
If a dehumidifier doesn’t work, you’ll need to stop the water getting in. This requires specialist intervention, and significant expenditure. Remember that waterproofing is only as good as its weakest link, so it’s not a job that can be skimped on. You’ll also want any contractor to be able to provide a warranty that will satisfy an insurance company or, in the event of a sale, a conveyancing solicitor.
There are two main waterproofing options, although they can be combined. The more basic ‘Type A’ (which is often what people mean by ‘tanking’) means applying a barrier membrane or coating either to the outside (the ‘positive’ side) or the inside (‘negative’) of the basement’s walls. Tanking usually works better when applied to the exterior, but access may be much more difficult. Barriers can range from high-tech multi-layered sheets to waterproof cements and relatively low-budget epoxy paints. These options can work fairly well, although this approach is only recommended for garages and workshops and the like, rather than rooms in which people live.
The recommended option for living spaces is ‘type C’ waterproofing. This means creating a cavity between external and internal walls into which water seeps, and is then collected and either passed into a sump and pumped away. (Sump pumps are often used for properties subject to flooding; a small chamber is created in the floor of the basement and a specialist pump placed inside; water that gathers there is then pumped into the municipal drains.)
‘Type C’ is more expensive, and will require regular inspection and, ideally, maintenance. But it is the most effective option, when done right. A waterproofed basement can also add to the value of a property, or at least make it easier to sell. Lists of the qualities that most turn off prospective purchasers often feature damp and musty odours.
Above all, if you want a basement that doesn’t ruin your possessions with mildew, if you don’t want to propagate mould-spores that could be bad for lung health, and if you don’t want to potentially undermine the integrity of your foundations – OK, these are the worst-case scenarios – waterproofing is worth considering.
If you are looking for a Surveyor, you may find some of these links useful:

Building Surveys
I want a local surveyor to do a Building Survey for me

Homebuyer Survey
I want a local surveyor to do a homebuyer survey for me

Home Condition Surveys
Find local experts and compare prices

Valuation Surveys
If you need a Valuation Survey

Scottish Home Reports
Find local experts and compare prices

Asbestos Surveys
I want to find a local surveyor to do an Asbestos Survey for me

CCTV Drain Survey
If you are looking for a CCTV Drain Survey

Electrical Reports
Find an Electrician to produce an Electrical report (sometimes known as an Electrical Installation Condition Report - or EICR) for a property.